Wednesday, August 29, 2012

Whoo's Invited...

 I wanted to share with you how cute the Party Invite turned out for this party I just did!  You know I LOVE to think outside the box and do invites in an unusual way... Here is how the owl party invite turned out...  I threw a party for my Activity Day girls from Church.   It was a Mother & Daughter party...
I absolutely loved doing these invites!  They were one of the reasons I bought my Silhouette Cameo!  I knew I was going to do a party themed with owls.  I wanted to have owls on the invite and a banner that spelled out Party, but I had to make 18 invites!  That would be a lot of cutting, so I got the Cameo and wow it saved me!  It was still a lot of work to these invites, but I was so excited to deliver them to my Activity Day girls!

So you are able to picture the finished invite, Everything was just glued onto some branches I twisted to make them work.  They received the invite just like this...  A Branch... With all the goods glued onto it!
Here is a shot from behind so you can see how I twisted all the branches...

I cut out and glued all the parts to the owls and here are the   
  pieces ready to go on the invite... In the background is all the banner pieces ready to be glued onto the baker's twine...

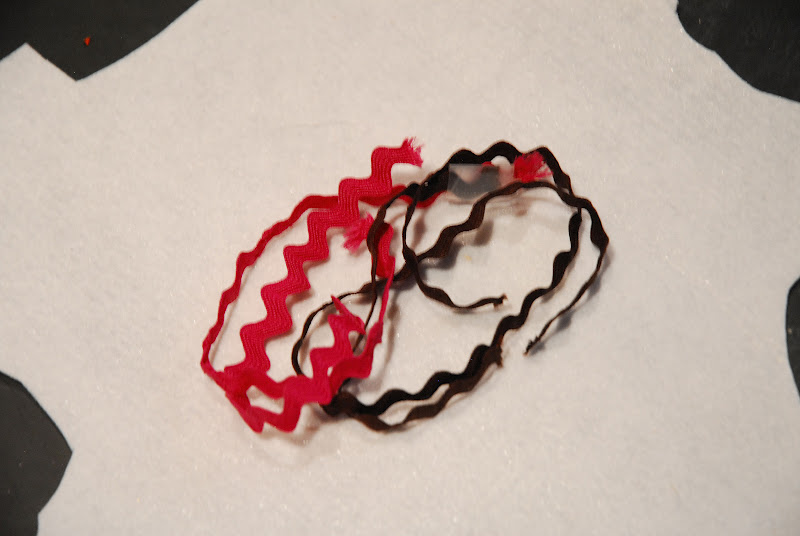
Here's the party banner close up..

I wanted to have the owls look like they were in their natural environment, so I thought of having them sit on a branch, then I would have something to hang the party banner on!  Eeek!  I know, soo cute!

Here is the topper to the invite.  I printed them and then cut them on my Silhouette and glued them to some Stripey straws and glued them towards the top of the invite...


I did all different colors of owls...

Here's a few group shots...

I grew sooo Attached to these little things, it was kinda hard to deliver them and let them go... But the party guests were THRILLED to receive them!

I really couldn't choose a favorite if I had to.  I loved them all!


***We just had the party last night and it was a "HOOT"! The girls had a blast!  I can't wait to share with you how it all turned out!  

**You really won't believe what I made for the desert table!  I will get all the photos edited and share with you! There is sooo much from this party to share with you, I can't wait! It was So fun!!!   Woot woot! (I think I'm still trying to recover from all the party - planning, preparing and presentation!)  :)

As always,
With much Love & Gratitude,


Pin It

Monday, August 27, 2012

A Little Trivia for you...

What does this...
And this...
And this...

And this...
and some of this...

And this...
And this...

And this...

And this...

And this..

And this...

have in common???

Stay tuned.  I'm about to do another party. I'm soooo exited to show you all the fun things I have come up with for this.  Wish me Luck!  I hope it all comes together like the Blueprint in my mind!  

Have a Fabulous Monday!

With Much Love & Gratitude,
 

Pin It

Thursday, August 23, 2012

Sunny Days!

I was outside the other morning gardening and thought it would be so fun to  cut some Sunflowers and bring them inside to enjoy.

About 5 years ago, Ryan and Madi started a tradition of planting Sunflowers together.  They love to see how tall the Sunflowers can grow.  This picture was the first year they planted them.  I still remember hearing Madi's voice one morning as we were backing out of the driveway on the way to school.  She exclaimed, "Our Sunflowers have bloomed!" (Awww, she was soo little in this picture!) weep weep! 

They have continued this tradition every year and look forward to how tall they can grow them. 

This year, Ryan and Madi expanded to the side of our house and planted some over there too.  We have all been amazed at HOW TALL they have grown.  I feel like Jack and the Beanstalk when I stand under them! 

It's been a fun tradition they have done together and fun to see how excited they get about them!

Have a Super Sunny Day!

With Much Love & Gratitude,
 

Pin It

Monday, August 20, 2012

How I did Board & Batten Trim on our Shed

 
If you were wondering how I did the Board and Batten trim on our shed, well today is your lucky day!

It is unbelievable to me to think that at this time last year, we only had walls up on our shed.  I felt as if it was never going to get done.  We kept plugging away and all but the inside is now complete!


To begin with:
Ryan and the boys did the footings, floor, walls, roof, shingles and outside sheeting.  From that point, Ry said "Ok Shell, it's your turn to make it pretty!"

This is what I had to work with.
(We had a tree blow down right in front of where the shed was, so until we removed it, I had to work around it, That is the massive green clump you see off to the left.)

I first began by working on the outside trim and the doors.  We bought huge sheets of outside trim and I ripped them down on the table saw to the sizes I would need for the various trim on the edges and for the batten and board.

Here is the type of trim we purchased.  This is what I used for the Board and Batten trim.
 I forgot to take a before shot of this angle of this wall before I put the trim on, so I have done some arrows to show you on a wall I already had the trim on.

I took this wall and figured how far I wanted the spaces to be between each piece of trim.  Between each piece, I placed them  12.5 - 13 inches apart.  At some points I had to eyeball it and fudge it just a little bit.


I next cut all the trim in widths that I would need. Each of my Board and Batten trim strips are 1 3/4 inches wide. I first placed my Horizontal trim on up under the eaves and along the seam about a foot down from the roofline.  This would give me my square guides to work with.  

I placed my first piece of trim about an inch in from the edges to give it some contrast.  **Please note** If you are using this tutorial to do a Board and Batten wall in your home on a wall, Typically the first piece of trim is started right at the edge or corner of the wall.  I moved my trim on the shed inside a bit for contrast. I will in the future, do a tutorial on Board and Batten for a wall inside a home too! :)


So now I have placed my first piece of trim.  I just measure over how many inches to where I want my next piece of trim and mark.  Between 12.5 and 13 inches.

Once I have it marked where I wanted the trim, then I measured the length and cut the strip of trim and placed it on with my nail gun. I would also use my square to make certain the trim is placed correctly. :)

Once that next trim is placed, I would measure over  12.5- 13    inches again and mark for my next piece of trim. Cut the length and place it on,  I repeated this until I reached the end.  
Once all the trim was on, I taped it off and primed it...

And painted it...

This is how I did the trim on the front of the shed...

The front of the shed was a little different. Instead of starting at the ends, I had to start in the middle of the shed at the point to keep the trim even or balanced.
This is how it looked when I started...

Here is the starting point...
I took a piece of trim, found the center of it 

tipped the edges at 22.5 on the miter saw

Placed and nailed the trim...

I next figured out how far apart to space the trim. 
Since I was working with a roof line, I had to angle cut the top of the trim, once it was fit, I cut the length.

 I measured over and marked...

Once I had it marked, I nailed on the trim.  I repeated this over and over until I reached the ends on both sides.

I then taped it off, applied primer and painted.

I did the same thing for the side with all the doors.  I placed the horizontal trims at the top and seams.  I then placed it in between the doors...

I made a circular cut with the jigsaw to fit the trim around the porch light too!

Finally after many, many, many trips to the miter saw.  All of the Board and Batten trim was placed and painted to complete the outside of the shed!  Whew!  That was a project!  We have been so pleased with how it turned out.

If you would like to see how I built our big Shed Door, you can see that here or by clicking on the photo below...

If you would like to see how we built our Shed/Coop, you can see that here or by clicking on the photo below...


If you would like to see how we completed the outside chicken run, you can see that here, or by clicking on the photo below...


Thanks for reading,
I have such fabulous readers!  Thanks again!


Pin It
Related Posts Plugin for WordPress, Blogger...
 
09 10