This is how I built my boxes: (I have all of the dimensions of all of the boxes at the end of this post.)
Materials:
3 planks of cedar fencing
Brad nails that are 7/8 in. long
White paint I had on hand
Minwax stain. (I used 3 kinds, Gel stain in color: Aged Oak)
small cans of stain: colors: special walnut and dark walnut
Brad nailer
Miter saw
clamps
palm sander
sponge brush for painting
rag for staining
I took only one board and ripped it on the table saw to 4 inches wide.
2 cut for the sides
1 cut for the bottom
fit your pieces together. I fit the side pieces inside the front and back pieces so no seams show on the front or back. Once they were placed together, I figured the bottom measurement and cut and fit it.
Clamped and Nailed on with the brad nailer on the corners, sides and around the bottoms. There the box is built! I built all of these in one afternoon. They really weren't too bad.
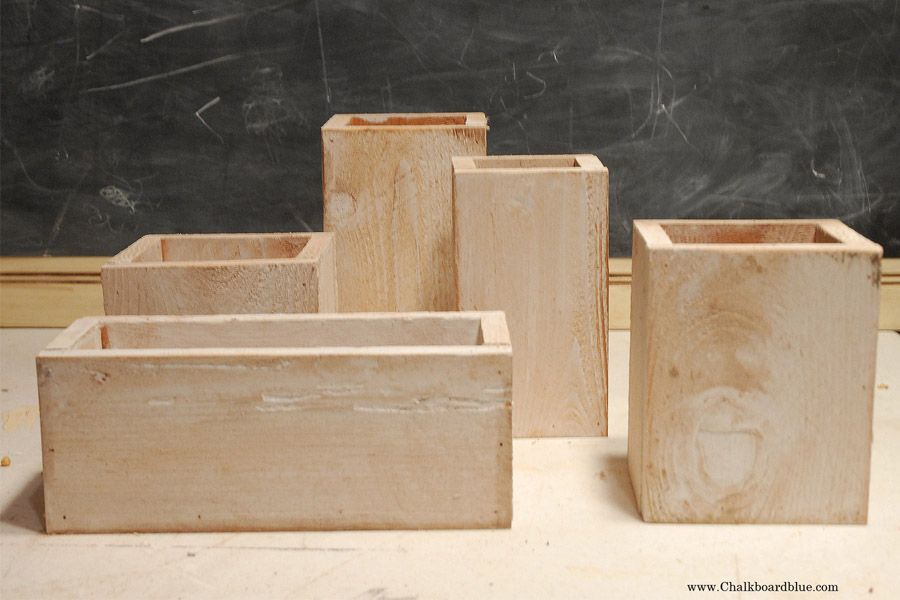
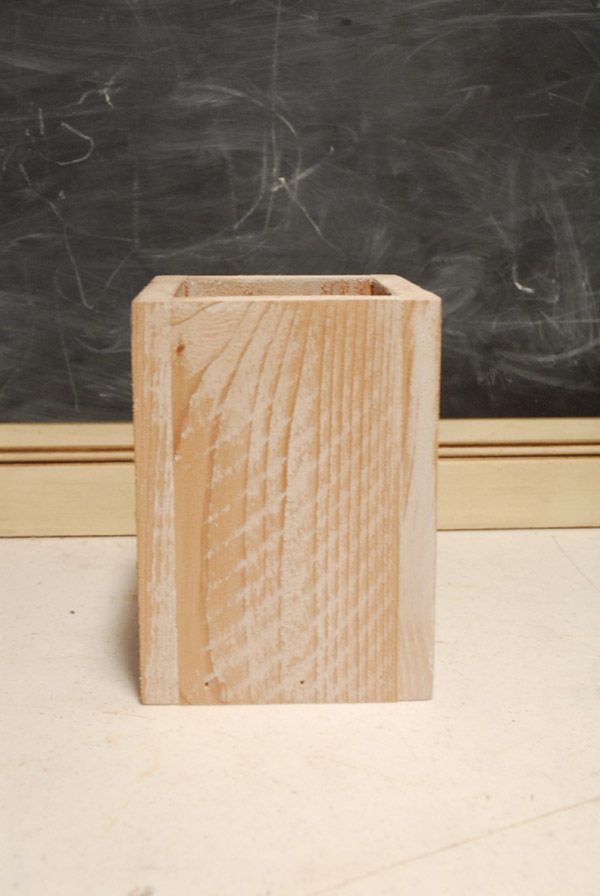
Here they are before I painted them...
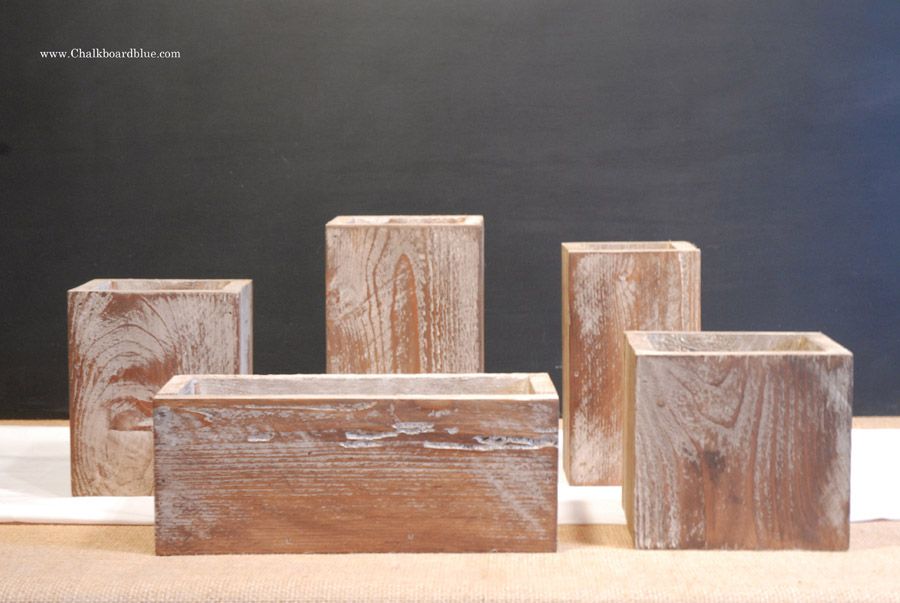
I painted them white. Inside and out and the bottom, because you never know when you will want to flip them over for a different height..
Next, I used my palm sander and sanded them down quite a bit. So only some of the paint shows through and the ridges in the wood show up... I sanded off more of some boxes than others too!
Then did a series of stain applications, I used the gel stain, the special walnut color and then the dark walnut color. Once you have that applied, you can sand them down a little more to give them a more rough look or put more stain, its up to you!
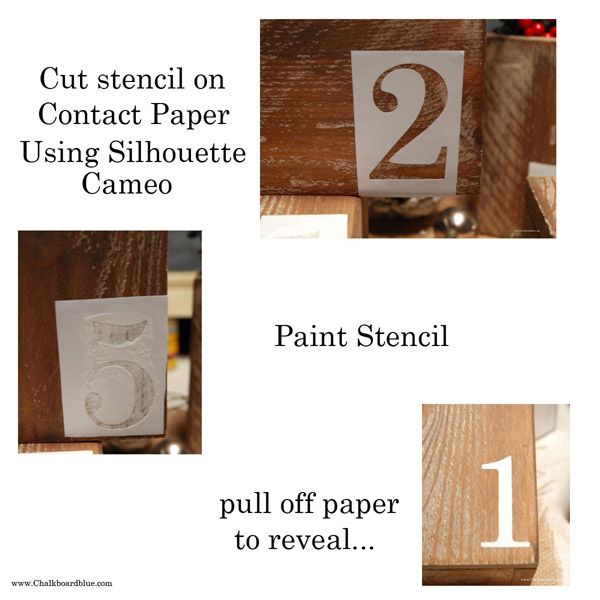
To make my stencils, I cut them using my Silhouette Cameo on some Contact paper. Placed them on the boxes, painted in the stencil and removed the contact paper...
Here they are with all the numbers:
Here are all the dimensions I used for each of my boxes. I will give you the dimensions corresponding to the numbers on the boxes in the above picture:
Remember I cut the one board 4 inches right? That board was used for the box with the number 4 on it and the box with the number 2 on it. ( all dimensions are in inches)
Cut two of each:
-Front/Back (1 for front board and 1 for back board)
-Sides
Cut one of:
Bottom
No. 4's dimensions are: No. 2's dimensions are:
Front/Back: 4 wide x 7 tall Front/Back: 4 tall x 10 wide
Sides: 2 1/2 wide by 7 tall Sides: 3 wide x 4 tall
Bottom: 2 3/4 x 2 1/2 Bottom: 3 wide x 8 3/4 long
No. 5 Dimensions are: No. 1's dimensions are:
Front/Back: 5 3/8 wide x 5 tall Front/Back: 4 3/4 wide x 7 3/4tall
Sides: 3 3/4 wide x 5 tall Sides: 3 3/4 wide x 7 3/4 tall
Bottom: 3 3/4 x 4 1/8 Bottom: 3 1/2 x 3 3/4
No. 3's Dimensions are:
Front/Back: 4 3/4 wide x 6 tall
Sides: 3 1/4 wide x 6 tall
Bottom: 3 5/8 x 3 1/4
Note: vinyl does not like to stick to a stained surface, so it takes a little bit of work to get your vinyl to adhere, but still works!
I have LOVED these boxes! They have been so fun to decorate with!!! If you make some, I know you will love them too!
If you would like to see more ideas about these boxes, you can visit my first post about them here or by clicking on the photo below:


so sweet, I'll use that painting technique, thank you
ReplyDelete